
Your first quote in five steps.
From sign-up to a quote in your client's inbox, with the screen for each step.
- Sign up
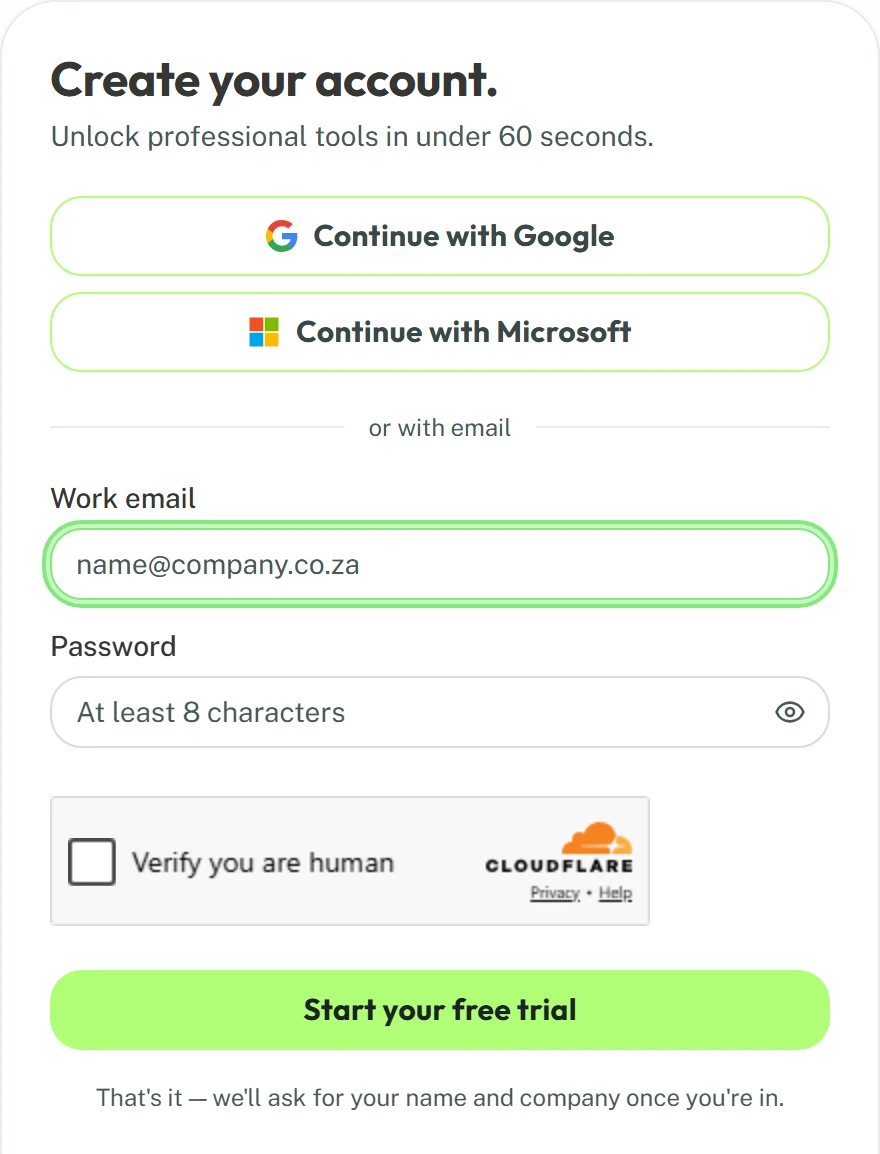
Step 1: Create your workspace
Sign up with email, Google or Microsoft. Add your name and business name, and your workspace is ready.
- Settings · Organisation
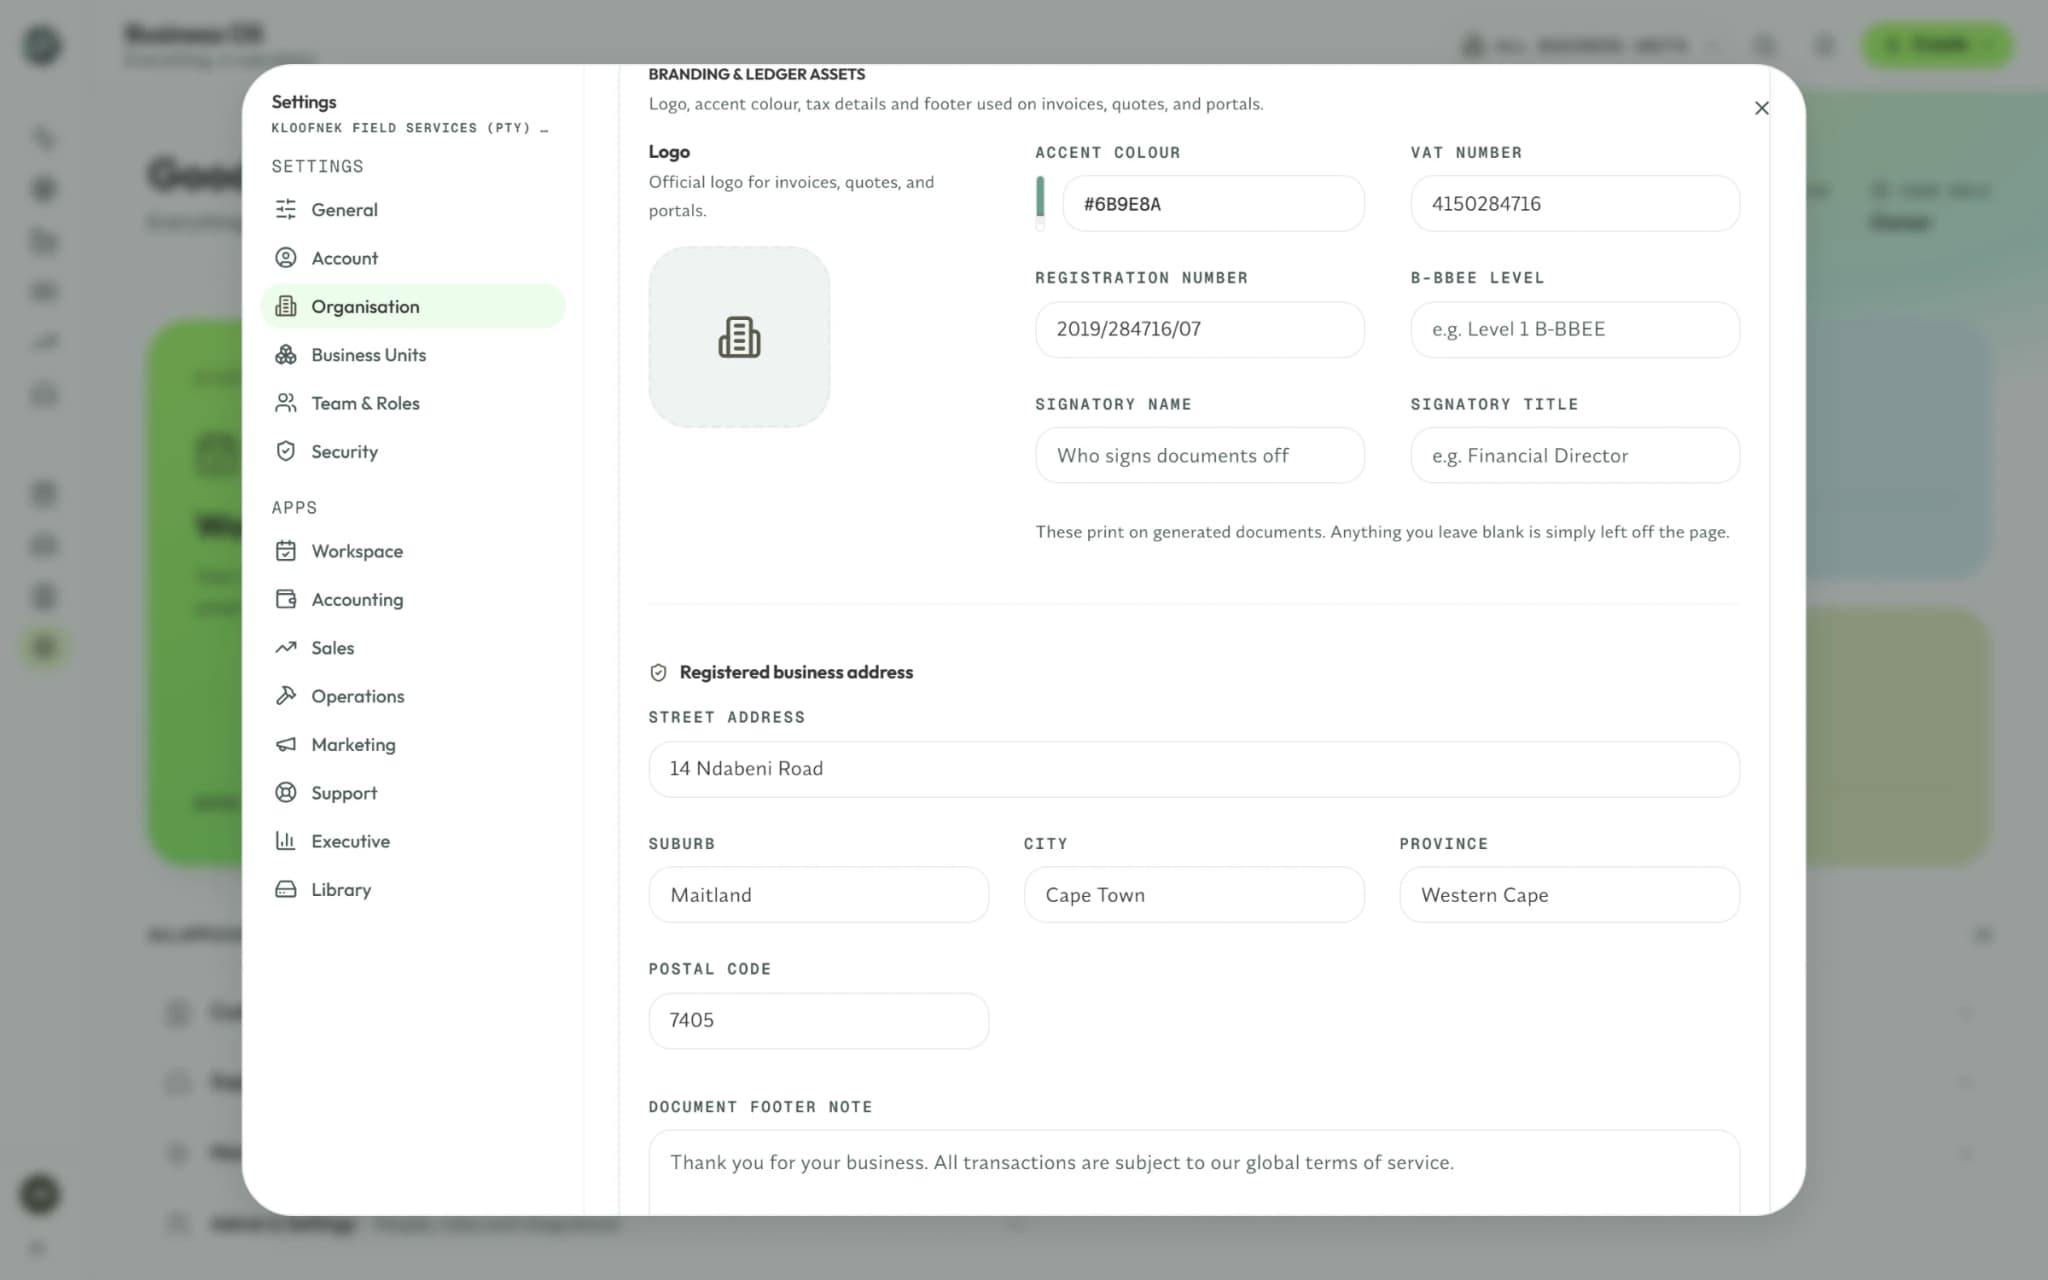
Step 2: Add your company details
Upload your logo and add your VAT and registration numbers for your quotes and invoices. Add your bank accounts to show on invoices.
- Settings · Team & Roles
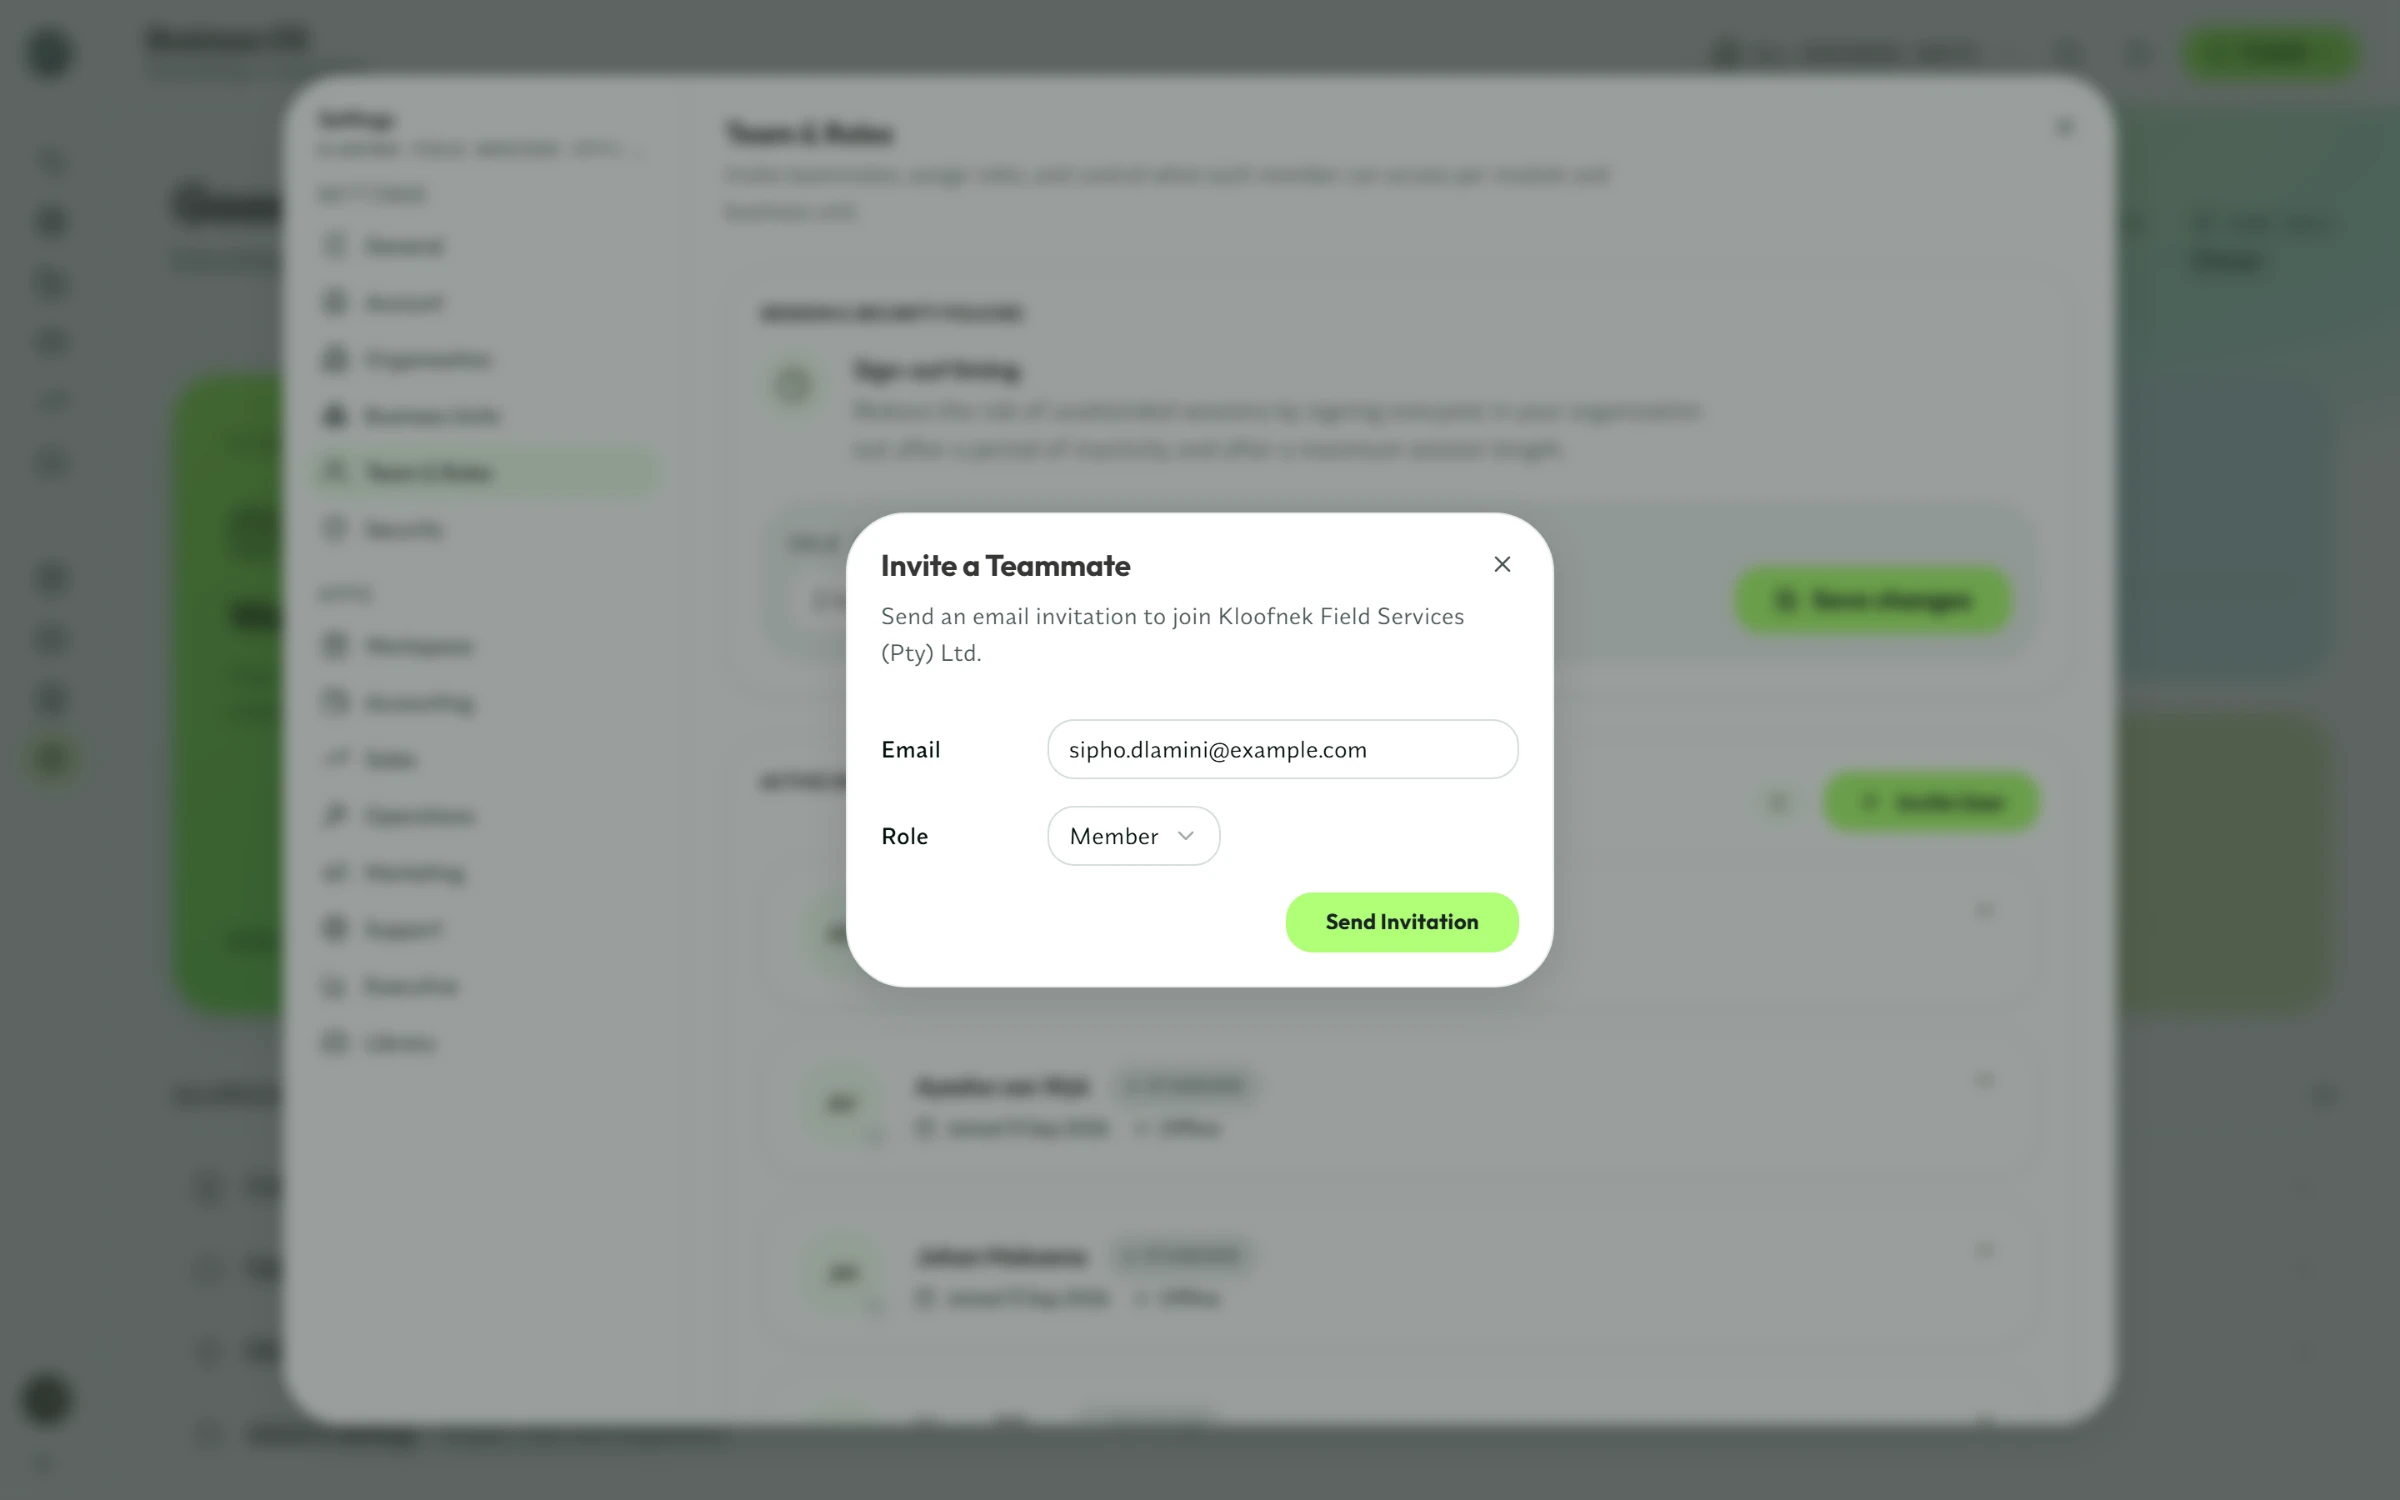
Step 3: Invite your team
Invite each person by email as an admin, member or viewer. Then choose which apps and business units each member can see.
- Operations · Client hub
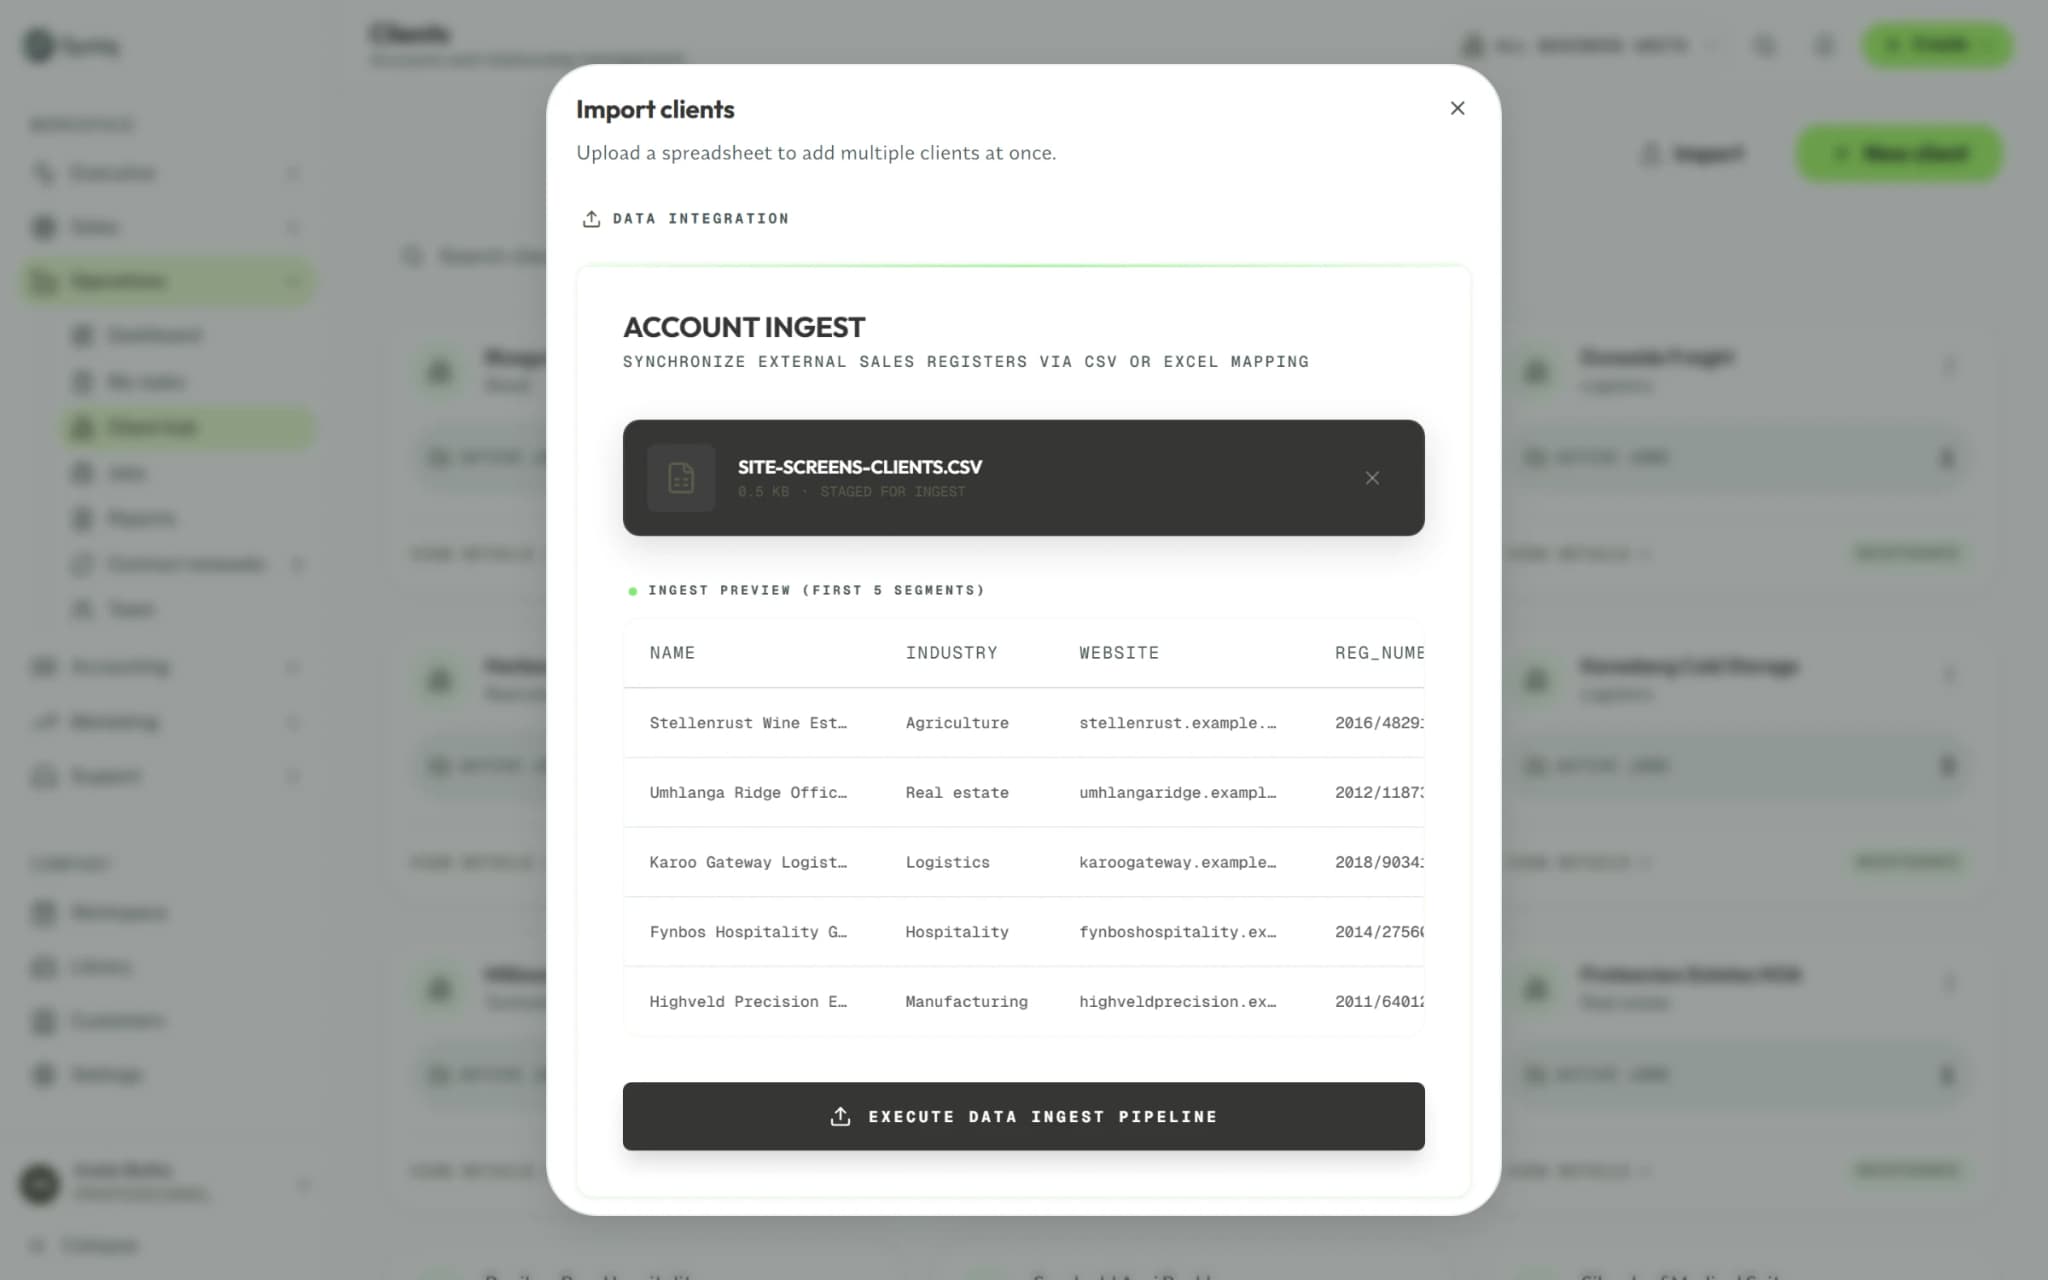
Step 4: Import your clients
Upload a CSV or Excel file with a column headed “name”, plus Industry, Website and VAT columns if you have them. Clients you already have are skipped.
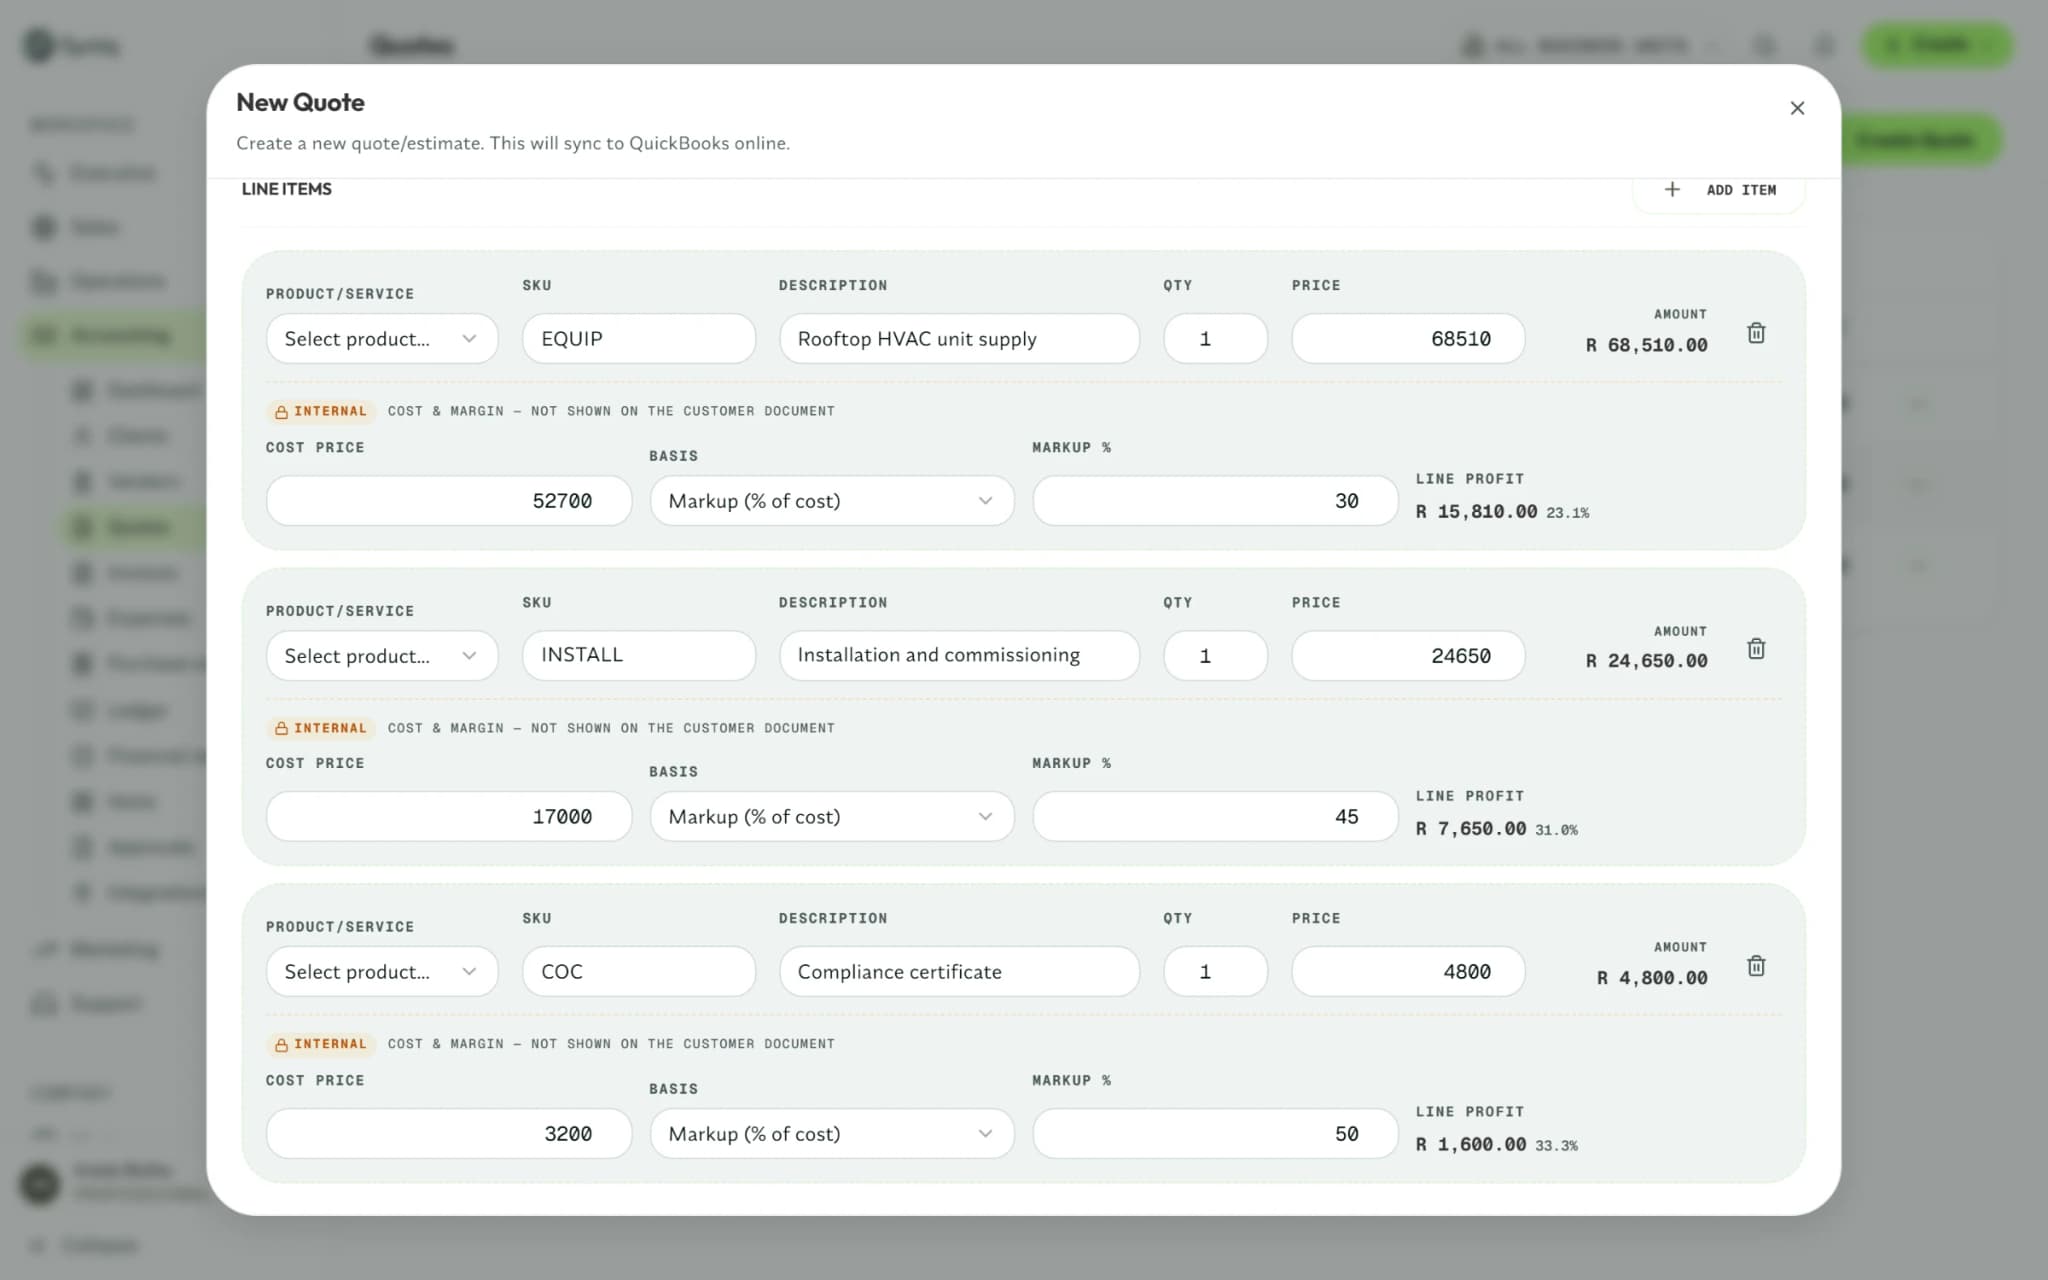
- Accounting · Quotes
Step 5: Send your first quote
Choose the client, add your line items and email the quote from Syniq. When the client accepts, the invoice is generated from it.
Try it with your own work.
Start a 14-day free trial, or sign in if you already have a workspace.
No credit card required